My third-graders can tell you what a robot is. What they could not tell you, at least not at first, is why it moves. That gap between 'I know what this thing is' and 'I understand how it works' is exactly where engineering education lives. And for most of us, filling that gap feels intimidating. We picture whiteboards covered in equations, lab coats, expensive equipment. But last spring, I introduced basic engineering concepts to 24 eight-year-olds using a Sillbird 12-in-1 Solar Robot Building Kit that costs less than twenty dollars, and it worked better than anything I had tried with worksheets in five years of teaching.
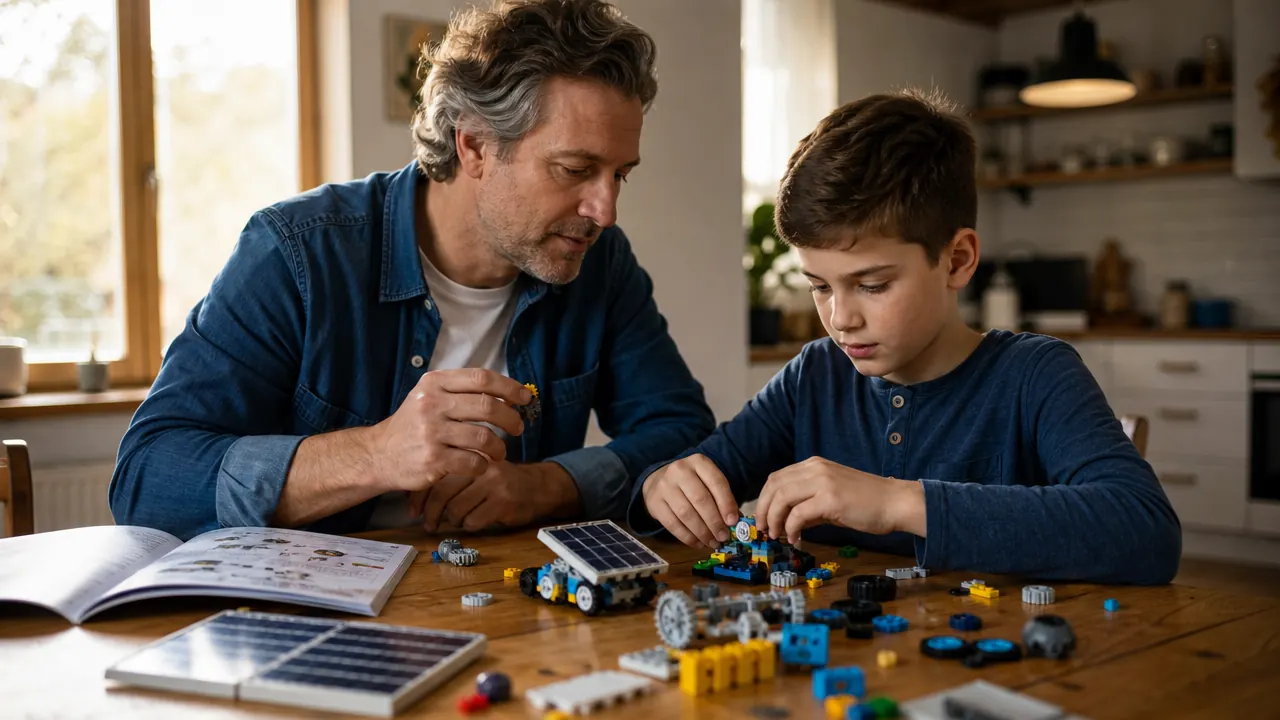
This guide walks through the exact five-step process I use both in my classroom and at home with my own kids. You do not need an engineering background. You need patience, a flat table, decent afternoon light, and the right kit. The Sillbird 12-in-1 Solar Robot Kit is the one I keep coming back to because the 190-piece build is complex enough to be genuinely instructive but forgiving enough that a child who has never picked up a gear can succeed. It has 4.3 stars and over 15,000 reviews on Amazon for a reason.
Your kid is three sunny afternoons away from building a real working robot.
The Sillbird 12-in-1 Solar Robot Kit is the kit I use with my own students and my own children. It covers twelve different robot configurations, runs on sunlight, and teaches every concept in this guide hands-on. Check today's price before you start reading so you know what you're working with.
Amazon Check Today's Price on Amazon →Step 1: Build Vocabulary Before You Open the Box
The single biggest mistake I see parents and teachers make is cracking open the kit first and explaining afterward. Flip that. Before your child touches a single piece, spend ten to fifteen minutes building three words together: force, energy, and system. You don't need a textbook. Ask your child to push a glass of water across the table. That push is a force. Ask where the force came from. Them. Where did they get the energy? Breakfast. Now you have a system: energy from food, transferred through their body, expressed as force, moving an object.
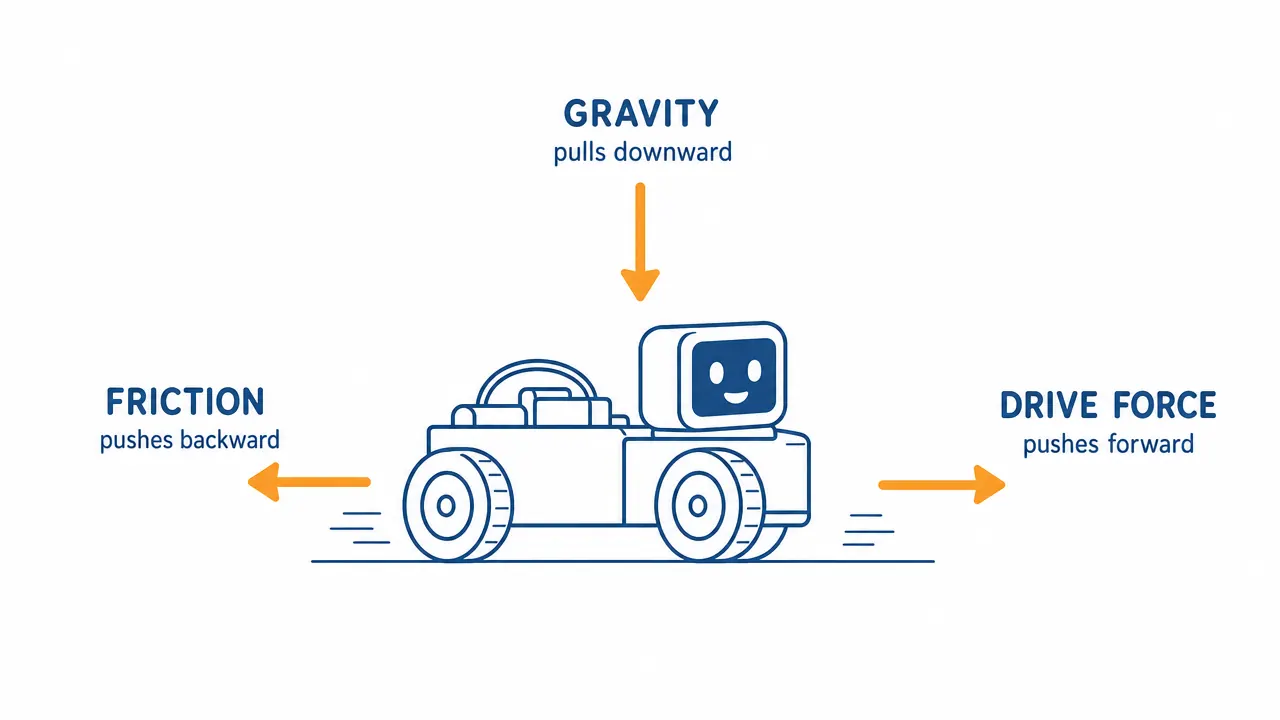
When the robot kit comes out, that vocabulary becomes a frame. The sun provides energy. The solar panel captures it and converts it into electricity. The motor turns that electricity into mechanical force. The gears transfer and amplify the force to the wheels. Every step in the build is a chapter in the same story they already started telling with a glass of water. I have done this with eight-year-olds who had never heard the word 'convert' and watched them use it correctly twenty minutes later because they had a concrete experience to attach it to. That is how vocabulary actually sticks.
Write the three words on a sticky note and put them on the table where you're building. Every time one comes up naturally during the build, point to it. Kids love catching the concept in the wild. My son Liam, who was nine when we first did this, started narrating the build out loud using all three words by the second afternoon. He didn't even realize he was learning. He thought he was just explaining the robot to our cats.

Step 2: Sort the Pieces and Talk About Systems Thinking
Open the box and spread everything out on the table before reading a single instruction. Ask your child to sort the pieces however makes sense to them. Big pieces together, small pieces together. Round pieces, flat pieces, pieces with teeth (gears), pieces with wires. This sorting step sounds trivial but it is the first real act of engineering in the whole process. Engineers do not look at a pile of components and immediately start assembling. They inventory, they categorize, they think about what connects to what before any connections are made.
Once pieces are sorted, ask one question: 'Which parts do you think make it move, and which parts hold it together?' This question teaches the difference between structural components and functional components, which is a foundational systems-thinking concept. There is no wrong answer at this stage. The goal is to get your child forming hypotheses, not reciting facts. When we did this activity in my classroom, I got twelve different sorting systems from twenty-four students. All of them were valid. That conversation alone, kids defending their own sorting logic, was twenty minutes of authentic scientific thinking.
Step 3: Build in Stages, Not All at Once
The Sillbird kit gives you twelve different robot configurations. Resist the temptation to pick one and build straight to completion. Instead, build the base chassis first, then stop. Ask: what do we have? What can it do right now? What is missing? This pause-and-evaluate rhythm is exactly how engineers work in real life. They build a prototype, test it, identify what is incomplete, and iterate. A ten-minute pause between the chassis stage and the motor stage teaches more about the design process than an hour of uninterrupted building.
When the motor is added, stop again. Now try connecting the solar panel to the motor before you connect anything else. Hold it in the sun. Does the motor spin? Yes. Now you have a working subsystem. This moment is magic in a classroom. When twenty-four kids simultaneously hold their motor-and-panel assemblies toward the window and the little shafts start spinning, the room gets loud in the best way. That spinning shaft is not a finished robot yet, but it is proof that the energy conversion is real. The concept is no longer abstract.
At each stage, ask your child to predict what will happen next before you connect the next component. Prediction is a low-stakes, high-payoff habit. Kids who predict before testing develop better observation skills because they have something to compare their results against. When the prediction is wrong, that is not a mistake. That is data. Teaching kids to say 'my prediction was wrong, so here is what I learned' instead of 'I got it wrong' is one of the most valuable things a parent or teacher can do. Engineering is almost entirely about learning from things that didn't work the first time.
Step 4: Test Outside and Introduce Real Variables
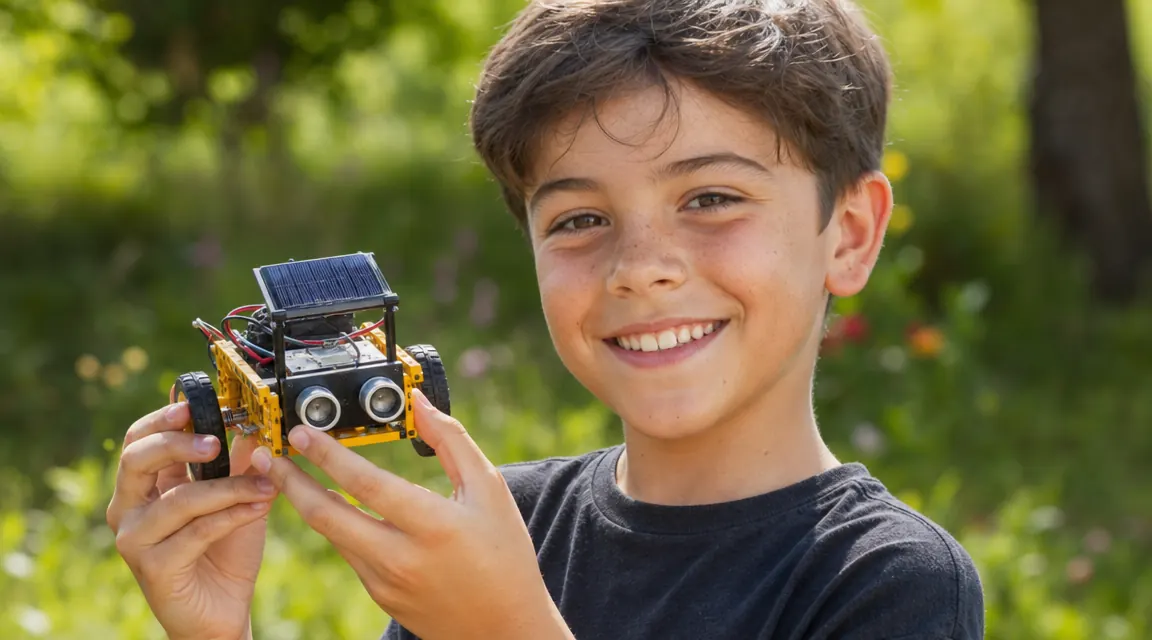
Once the robot is fully assembled, take it outside. This is not optional. Testing a solar-powered robot indoors under artificial light gives you a weak, inconsistent result. Testing it in direct sunlight gives you a real result. And moving it from shade to sun, or turning it at different angles, introduces your child to their first real variable test. What changes when we point the panel directly at the sun versus at a forty-five degree angle? The robot goes faster. Why? More photons hitting the panel, more electricity generated, more power to the motor. You just taught photovoltaic efficiency to a nine-year-old.
Have your child keep a simple observation log during the outdoor test. Four columns: what we tried, what we predicted, what happened, what we think it means. You do not need a formal science journal. A folded piece of paper works fine. The habit of recording observations in real time, not from memory, is one of the clearest markers between a casual observer and a scientific thinker. My daughter Maya, who was ten when she did this test, filled three pages of notes during a single afternoon in the backyard. She kept saying 'wait, let me write that down first.' That is the exact behavior you are trying to build.
My daughter kept saying 'wait, let me write that down first' every time the robot did something unexpected. That habit, pausing to record before moving on, is one of the most important things engineering education can teach.
Step 5: Reconfigure and Ask 'What Would You Change?'
The Sillbird kit's biggest educational advantage over simpler kits is the twelve configurations. After building and testing one robot design, take it apart and build a different one. The walker, the boat, the racing car, the crab, they all use the same components differently. Ask your child what is different about this design compared to the last one. Why does the crab move sideways? Why is the boat configuration lower to the ground? These comparison questions are the engine of engineering thinking. They push kids to notice trade-offs, which is the core skill of design.
After the second or third configuration, ask the most important question in this whole guide: 'What would you change about this design to make it better?' Not 'what is wrong with it,' but 'what would you change.' The phrasing matters. 'Wrong' implies failure. 'Change' implies iteration. You want your child thinking like a designer who is always on version 2.0, not like a student who is worried about getting a grade. Write down their answers. Some of them will be hilarious. Some of them will be surprisingly insightful. All of them are engineering.
If your child gets really engaged with this question, you can take it further. Give them three minutes and a pile of the leftover pieces and say: 'See if you can actually make that change.' Even if the modification doesn't work, the attempt is the lesson. One of my students, a very quiet boy named Owen who rarely participated in group discussions, spent fifteen minutes modifying his walker configuration trying to make it turn. It never turned correctly. But he explained his logic to me afterward in more detail and more technical language than he had used all year. The kit gave him a problem he actually cared about solving.
What Else Helps
The five steps above are the core of the process, but a few surrounding choices make a significant difference. First, keep sessions short. Forty-five minutes to an hour is the productive window for kids ages eight through twelve. Beyond that, the fine motor fatigue and attention drain start producing frustration instead of discovery. It is much better to stop while they are still engaged and pick it up the next afternoon than to push to the finish line and end on a meltdown. I have made that mistake enough times to be confident about it.
Second, sit with your child during the build rather than supervising from across the room. Your presence at the table changes the dynamic. When you are physically there, sorting pieces alongside them and saying 'I wonder why this piece has teeth on only one side,' you are modeling scientific curiosity, not just overseeing a task. Kids absorb that. My students who made the deepest connections during our classroom build were the ones whose table partners asked the most questions, not the ones who already knew the most.
Third, if you want more background on why building kits like this one are more effective than worksheets for teaching STEM concepts, the article on this site covering the Sillbird kit in detail as a long-term use product gives you the full picture. And if you are weighing the Sillbird kit against other options in the same price range, the Sillbird vs other STEM building kits comparison breaks down the differences across several kits we have actually tested.
A $20 kit that teaches force, energy, photovoltaics, and systems thinking in an afternoon.
The Sillbird 12-in-1 Solar Robot Kit is rated 4.3 stars by more than 15,000 reviewers on Amazon. It is the kit I trust with my classroom and my own kids. If your child is between 8 and 13 and has any curiosity about how things work, this is a strong starting point. Check today's price before it changes.
Amazon Check Today's Price on Amazon →